On November 15th Tabletop World released their new Coaching Inn. I immediately ordered the building and it arrived just yesterday. Let's take a look at it!I have been a fan of Tabletop World's buildings since I first saw their products at
CoolMiniOrNot. So I made an
interview with them in 2009 and placed my
first order one year later (had to save for it for some time). Then their first range of buildings went out of production and their style somewhat changed to a more fantasy look. Now Tabletop World released their new
Coaching Inn and I absolutely loved the look. I currently have a strong
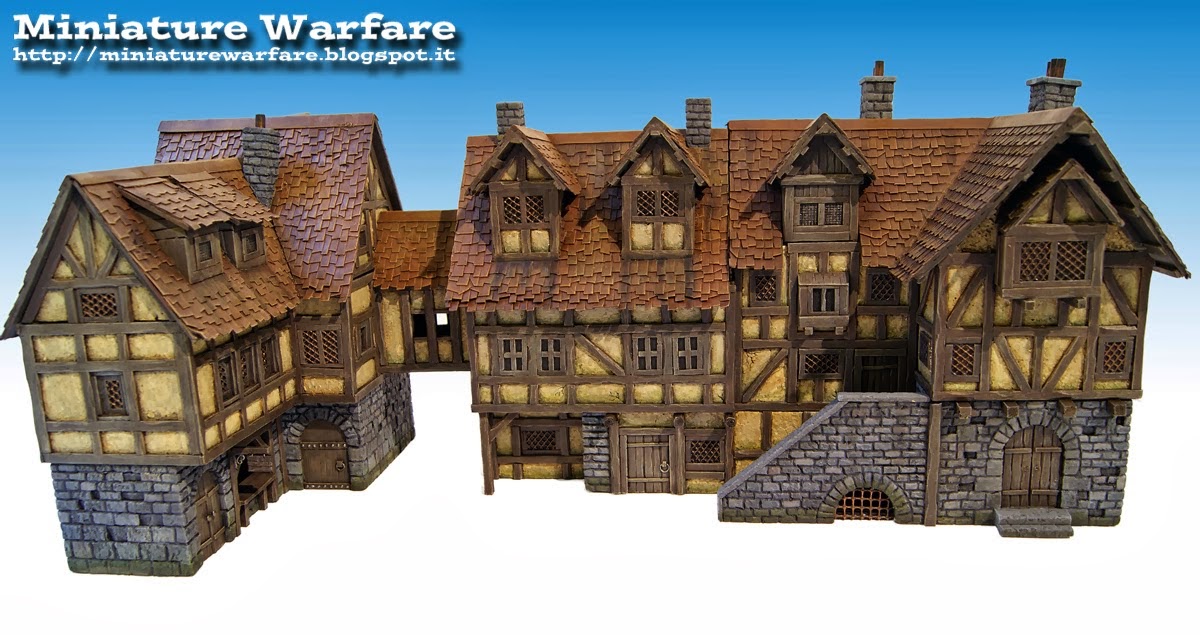
piratey focus in my gaming and I find the inn fits that perfectly (reminds me of CT-Scenery's
pirate houses).
At 98€ (excluding VAT!) the Coaching Inn is amongst the most expensive buildings for 28mm scale so I figured a more in-depth review of the item would be helpful for other gamers.
![]() |
| The Coaching Inn from Tabletop World |
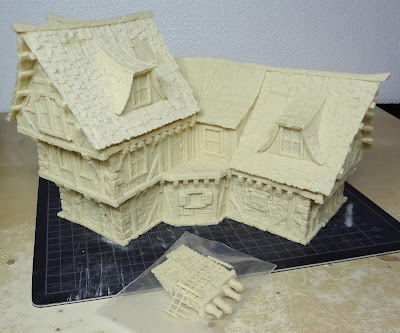
The Kit / Contents
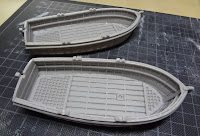
The main building consists of three pieces. Additionally, there are two chimneys and a fence piece for the balcony.
![]() |
| The contents of the Coaching Inn kit |
Tabletop World's buildings are super easy to assemble. Actually, there is no assembly required: You just put the pieces together and remove them when you want to access the inside. The only other company I know of that produces buildings with a similarly clever layout that requires no glue is
GrandManner.
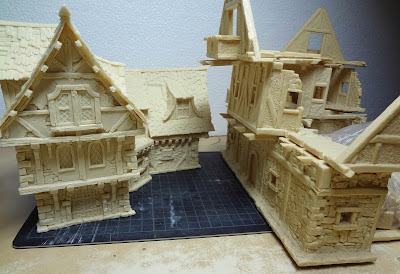
Size
According to Tabletop World their new Coaching Inn "is by far the biggest, most detailed and complex model we did so far". However, I would like to challenge that claim: One of their first buildings was the huge
Ruined Coaching Inn. Unfortunately this building is now out of production - just like the equally impressive
Guard Tower. In fact, to me it seems that the early buildings from Tabletop World were bigger overall, something like a heroic 28mm or 30mm scale, while their current buildings are more like 25mm to 28mm.
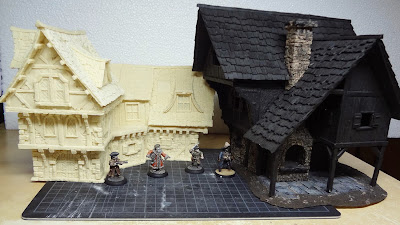
Here is a comparison with their Ruined Coaching Inn:
![]() |
| The new Coaching Inn next to the old Ruined Coaching Inn |
![]() |
| The new Coaching Inn next to the old Ruined Coaching Inn |
As someone who owns their huge Ruined Coaching Inn I expected the new inn to be bigger. But I have to admit that I am notorious for being disappointed when I first see the size of tabletop buildings. But even compared to their "normal" older buildings, e.g. the old Blacksmith's Forge
or the first version of the
Merchant House, the new inn is somewhat small.
![]() |
| The Coaching Inn next to the old Blacksmith's Forge |
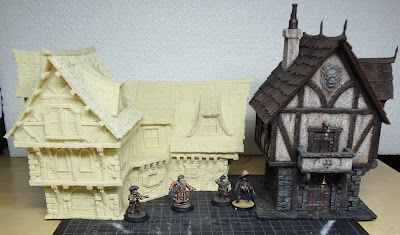
![]() |
| The Coaching Inn next to the first version of the Merchant's House |
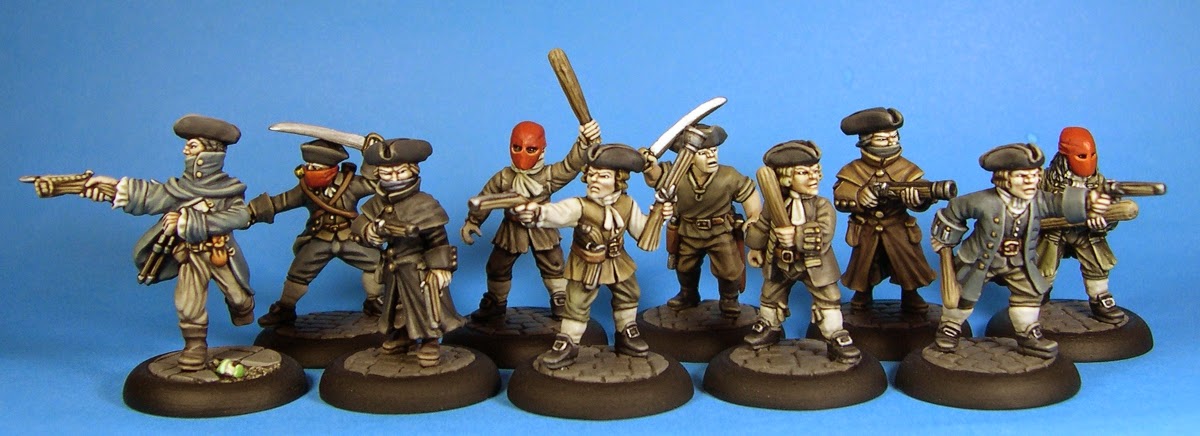
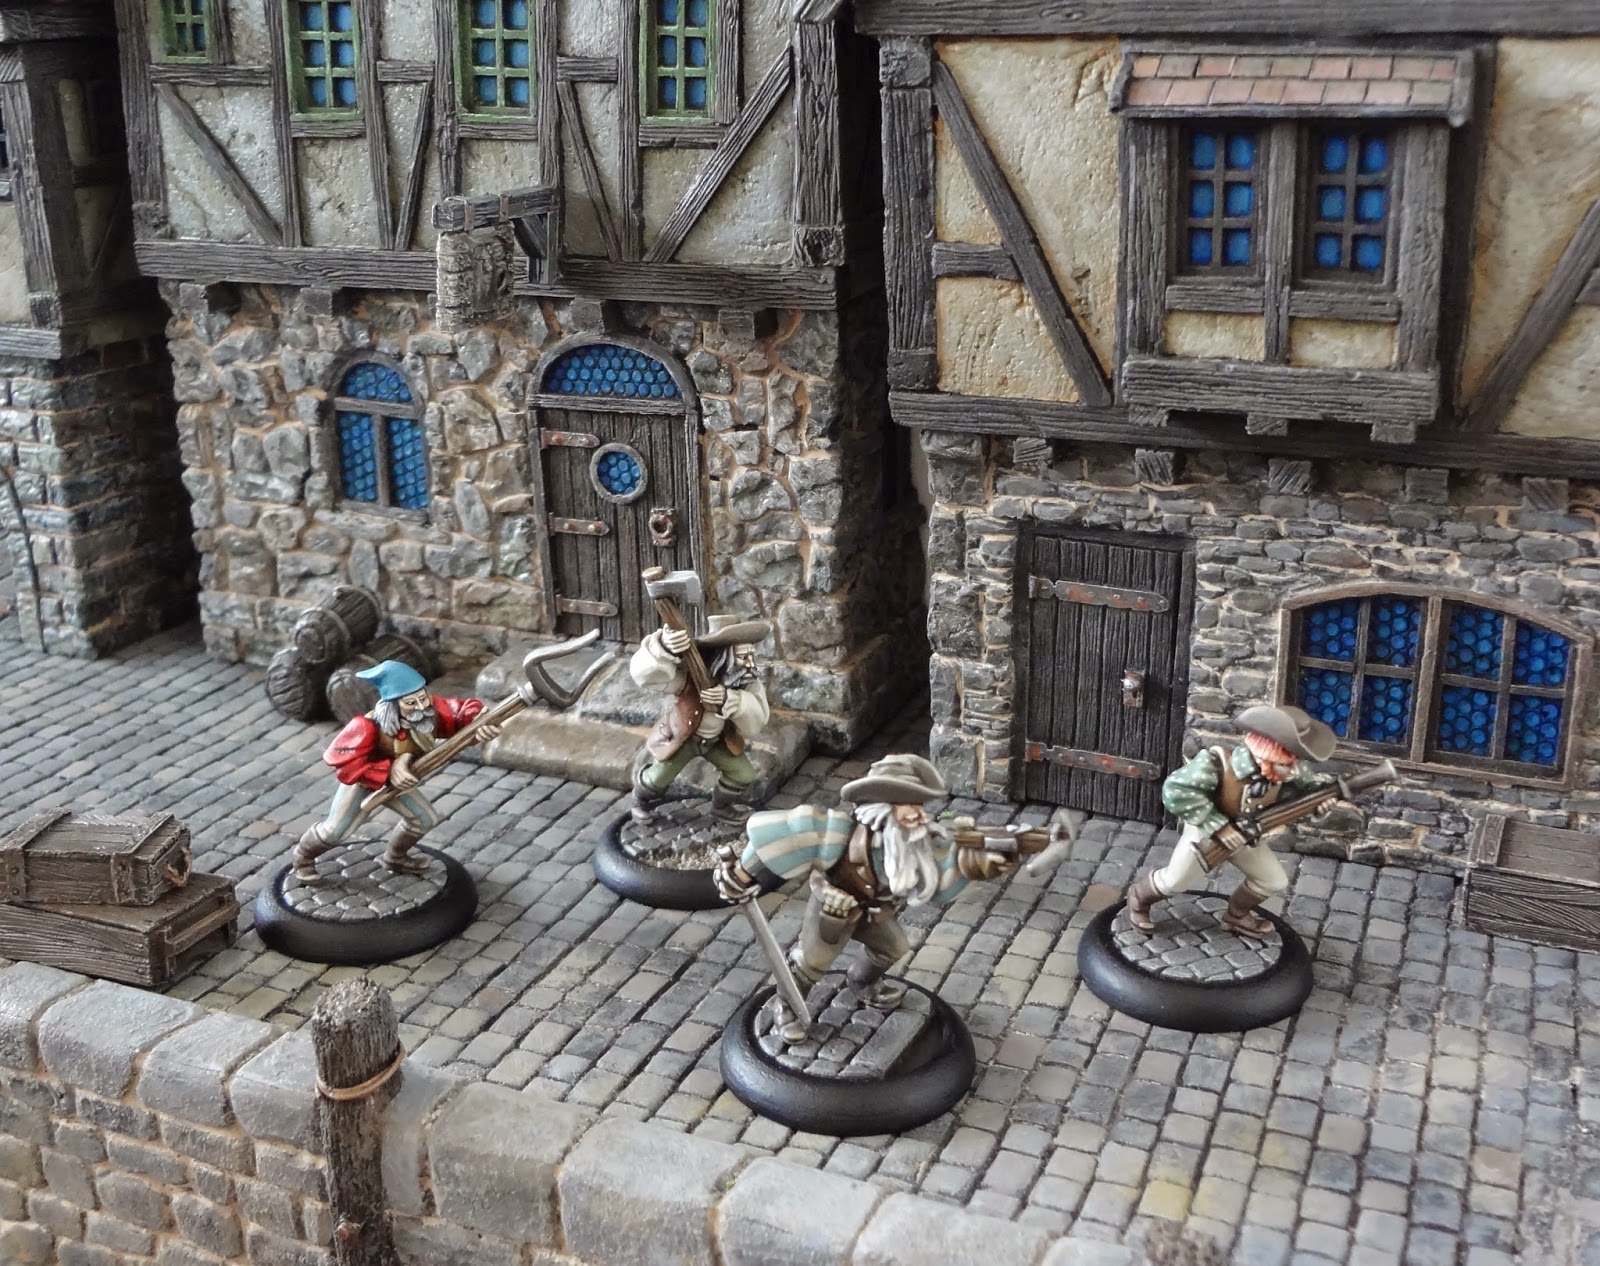
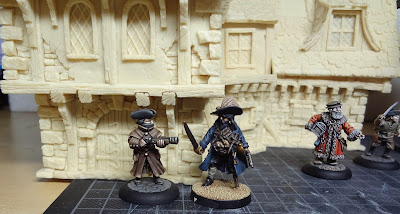
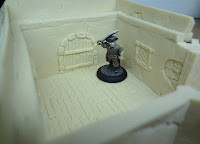
As you can see, the ground level used to be higher in their old houses, best visible at the doors. For these photos I am using a 25mm highwayman from
Outpost Wargames Services, a 30mm pirate from
Black Scorpion (of
Redbeard's Crew) and a 28mm merchant from
Lead Adventure.
![]() |
| The inn's ground floor is a bit low even for 25mm figures |
![]() |
The ground floor of the Merchant's House is much higher and
works even for Black Scorpion's large figures |
To give a better impression of the Coaching Inn's size I took a few comparison shots with buildings from other manufacturers.
![]() |
Comparison with the DIMA Coaching Inn - my first building that - to me - still sets
the standards for tabletop buildings |
Style & Detail
What I immediately liked about the coaching inn is the L-shape and the angles. The house looks really interesting and has a certain "special" look to it. However, this comes at the cost of realism: Tabletop World's buildings are clearly fantasy houses. Fortunately they are not covered with silly skulls or other nonsense details like Games Workshop's scenery, which would completely disqualify them for historical use.
A common grief that some people have with wargames buildings is the exaggerated detail. Tabletop World's first buildings were made using balsa wood and/or coffee stirring sticks as you can clearly tell from the modest wood grain on the houses' wood bars and roofs. On their new buildings the woodwork seems to be sculpted with modelling putty: The wood grain is very deep and overexaggerated. Whether you like this or not is a personal preference. Personally, I find many of the figures I use to have a somewhat comic style regarding their proportions and as long as I don't have perfectly sculpted Tom Meier figures with super realistic paint jobs I find it suitable to have buildings that "work" rather than ones that look like true buildings, shrunk to 28mm scale.
Another very common problem with tabletop buildings is the position of the chimney. On this piece it is okay I guess. I have seen pieces where the chimney pops out of the roof directly above where there is a window on the floor below. On the inn it is okay, I guess. The chimney's would not really work if they were to continue through the floors down to the ground floor but they are positioned well enough to not feel obviously wrong.
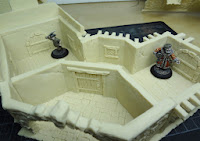
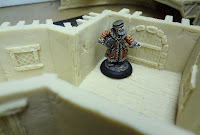
What I like best about the inn is the backside with its huge round entrance. This looks very unusual and interesting. Another huge plus is the balcony because of its gameplay value: You can place a shooter to fire from there. Only I would have preferred the balcony to to be made of wood bars rather than stonework.
![]() |
| The balcony is big enough to place a figure |
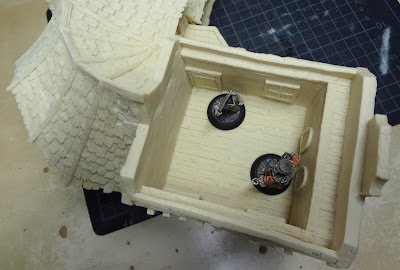
Interior
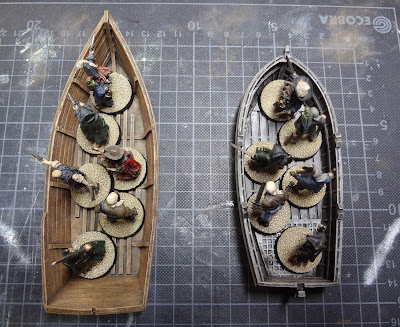
Removable roofs and accessible interior is important especially to skirmish gamers. Like all of Tabletop World's recent buildings this one, too, has a fully modelled inside.
The figures shown in the photos stand on 25mm round bases (from
Fenris Games).
On the upper floor only the small room is accessible. As a downside there is no space intended for stairs on the ground floor. So some people may want to add a trap door to the upper floor piece and maybe a ladder to get there.
Casting Quality
As usual the casting quality is superb. Since the very beginning, when they released their first buildings, the have managed to maintain the highest quality in the industry. The resin is light, doesn't smell; it is sturdy, yet soft enough to not break when lightly hit. There are neither air bubbles nor mold lines so very little clean-up work is required. Excellent!
Verdict
The Coaching Inn is a very nice building. It is not as large at Tabletop World make it seem. Its greatest strength in my eyes is the unusual style with lots of interesting features that sets it apart from the typical tavern type of house. It is in the same price league as GrandManner buildings though I prefer Tabletop World's material a lot. Many players will not spend this much money on terrain - those who do, will receive a high quality building that adds a lot to the gaming table. I hope that Tabletop World will continue and produce more buildings like this: larger, with more storeys and interesting features.
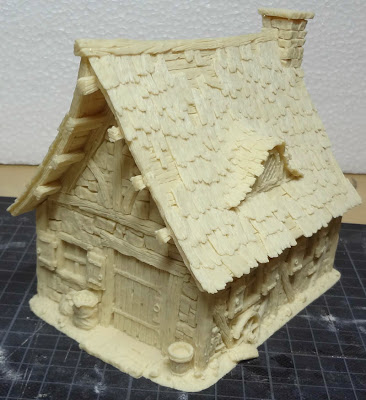
![]() Final note: Christmas Special Offer
Final note: Christmas Special Offer
Until December 31st Tabletop World is having a special Christmas offer. In addition to the inn I ordered their excellent Supplies and Groceries sets and the sweet well. This qualified for a fee Cottage - how cool is that!
If you are interested in more of their products this is a great time to place an order with the possibility of getting a free Cottage or even Townhouse. Especially considering how their pieces become "out of production" over time.
![]() |
| The free Cottage that came with my order |
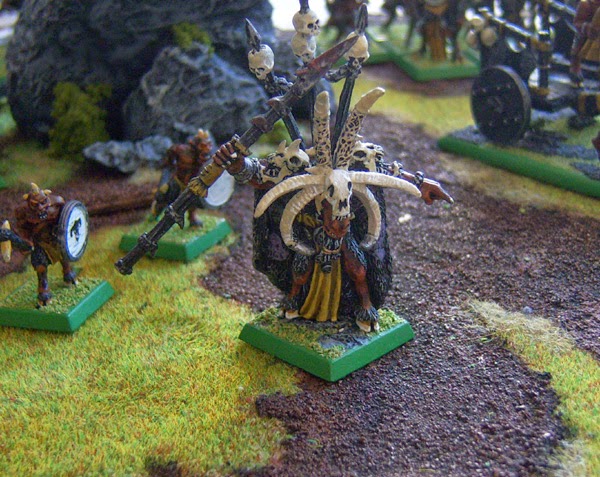
 Some years ago I wrote a scenario called "Horrors of the Underground" for the Mordheim supplement Border Town Burning. In this scenario two groups of adventurers explore some abandoned mines in the Cathayan borderlands in search of mighty Chaos artefacts. As they go further into the darkness they uncover caves of spiders and other vile creatures along the way.


.jpg)


.jpg)